How to Configure Lync Room System Admin portal?
This is very useful admin tool for managing Lync Room System which are deployed in different location. Using Admin portal you can troubleshoot, restart console LRS room etc.
The LRS Admin Web Portal is a server-side application that is used to monitor and manage LRS devices for on-premises deployments. The following is a list of new features in the LRS Administrative Web Portal:
- Health indicates
- Troubleshoot / Restart Lync Room System.
- Improved log collection
- Live notifications on the portal
- Displays hotfix version (15.xx.x)
- Admin can check updates from the portal
Follow below Step to install Lync Room System Admin:
1. Install Lync Server 2013 Cumulative Updates: July 2013 in the Lync Server topology. You can install latest Cumulative Update however minimum requirement is July 2013 CU.
Latest CU for Lync 2013: http://www.microsoft.com/en-us/download/details.aspx?id=36820
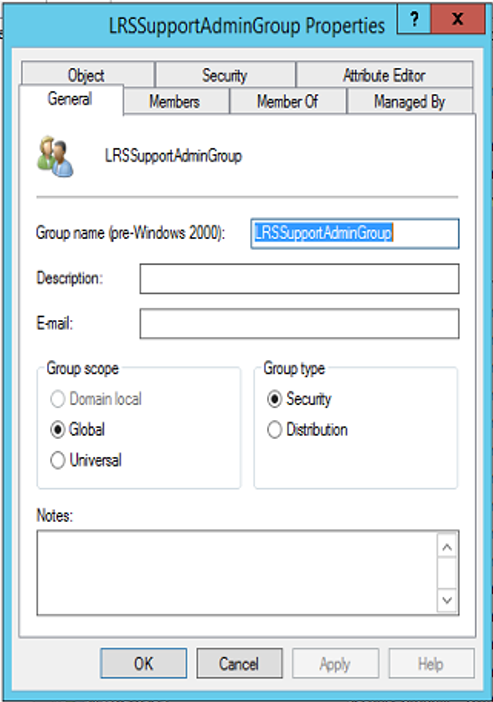
2. Create an Active Directory security group with name LRSSupportAdminGroupand LRSFullAccessAdminGroup. (Create the group with Group Scope as Global and Group Type as Security).
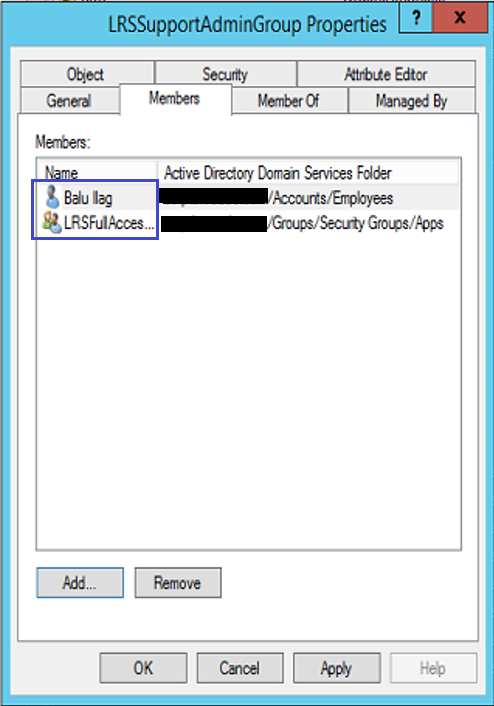
3. Create SIP enabled users who are add to ‘LRSSupportAdminGroup’ group will be authorized to see the list of rooms and execute certain commands, such as collecting logs. E.g. bilag@mydomain.com
Additionally Add ‘LRSFullAccessAdminGroup’ group as a member of ‘LRSSupportAdminGroup’.
4. Install ASP.NET MVC 4 for Visual Studio 2010 SP1 or latest and Visual Web Developer 2010 SP1, available in the Microsoft Download Center at http://go.microsoft.com/fwlink/p/?LinkId=323967.

5. Configure the Trusted Application Port by running the below cmdlet in Lync Server Management Shell:
Set-CsWebServer -Identity PoolFqdn -MeetingRoomAdminPortalInternalListeningPort 4456 -MeetingRoomAdminPortalExternalListeningPort 4457

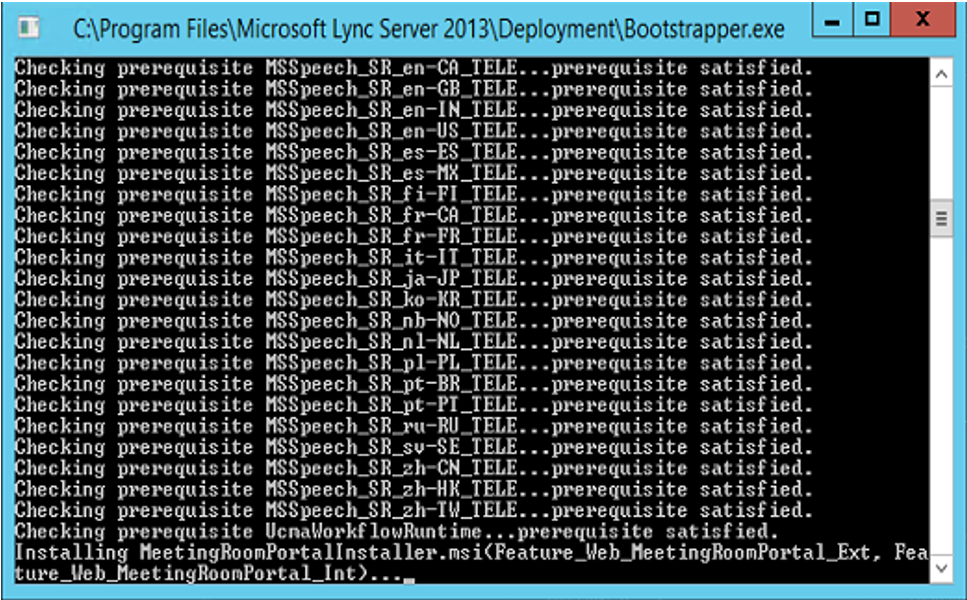
6. Now time to install the Meeting Room Portal, download LyncRoomAdminPortal.exe and then run it as an administrator.
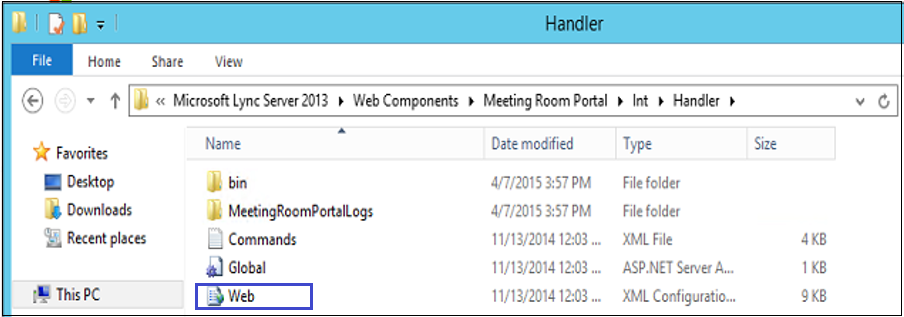
7. Open the Web.config file from the following location:
%Program Files%\Microsoft Lync Server 2013\Web Components\Meeting Room Portal\Int\Handler\
8. In the Web.Config file, change the PortalUserName to the SIP user created i.e. bilag@mydomain.com.

9. Because the LRS Admin Portal is a trusted application, you do not need to provide the password in the portal configuration. If this user is using a different registrar than local registrar, you need to specify the registrar for it by adding the following line in the Web.Config file:
10.If the port used is other than 5061, add the following line in the Web.Config file:
11.Now open IIS and verify ‘Lrs’ under internal website.
12.Open LRS admin portal URL. Localhost or FE FQDN /lrs.

Now sign in and explorer.
Thank you.


